This article explains how to make files created in the 3DEXPERIENCE (hereinafter referred to as 3DX) environment usable in the conventional CATIA V5.
This article explains the procedure for converting 3DX files into CATPart files that can be directly handled in CATIA, as well as points to note regarding versions and licenses.
Basic procedure for converting 3DX files into files for CATIA
1. Launch 3DEXPERIENCE; Log in to 3DX and select the collaborative space to import to.
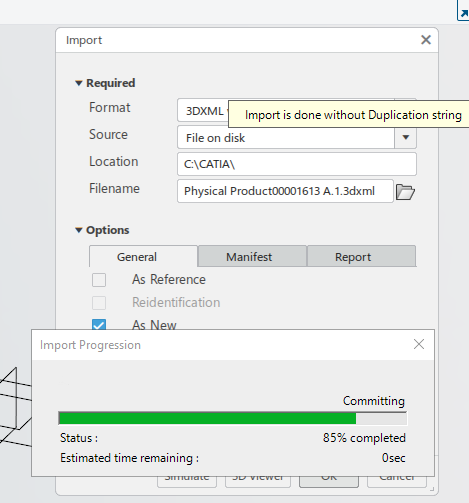
2. Import a 3DXML file; Use the “+” button in the upper right of 3DX to select the 3DXML file. When the option setting screen appears, check the version and conversion options.
Import screen is shown below.
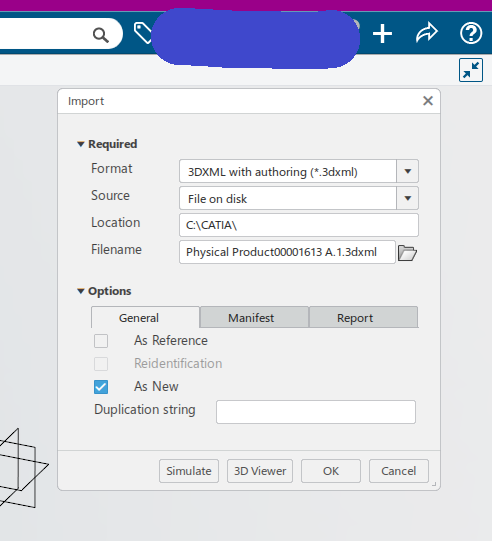
- The actual import screen has the following settings.
Format; Select “3DXML with authoring (*.3dxml)”. Here, specify the 3DXML file as the source.
Source; Select the source to read from, such as “File on disk” (such as a folder on the local PC or a network drive).
Location / Filename; Specify the save location and file name of the 3DXML file to be imported.
As Reference ; Used when the imported data is treated as a “reference”. It may be selected when consistency with existing data is required.
Reidentification ; Used when reassigning an already managed ID.
As New; Selected when you want to register as a new object. This is useful when you want to treat the received 3DXML as completely separate and independent data.Simulate; Performs a simulation before importing to check how the model will be imported.
3D Viewer; Roughly previews the model you plan to load in the 3D viewer to check for problems.
OK; Button used to finally execute the import.
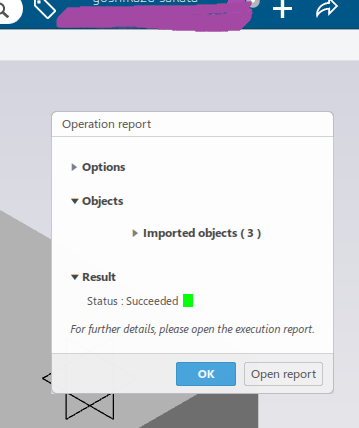
When the conversion is successful, the following will be displayed.
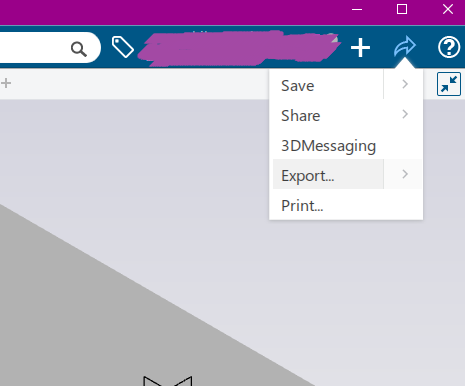
3. Export the imported 3DXML file as a CATPart file; From the arrow menu in the upper right, select Export. Check the conversion options as before.
When you open the “Export” dialog, the following settings will be displayed.
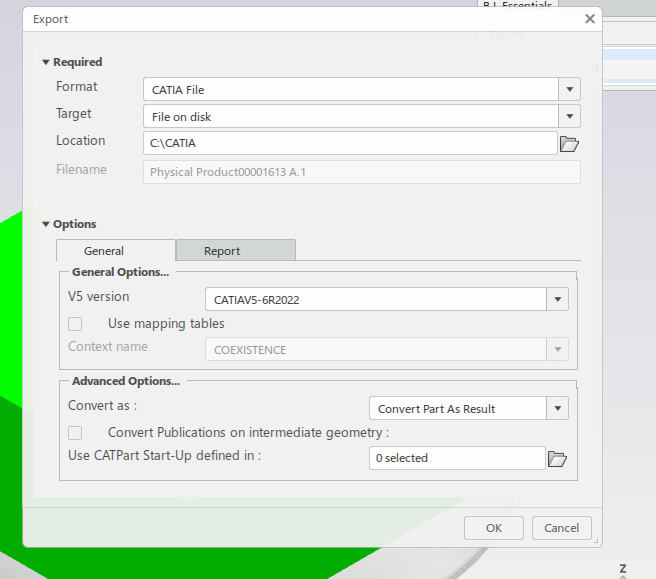
- The actual import screen has the following settings.
Format; By selecting “CATIA File”, you can output in CATPart or CATProduct format. You can select other file formats as needed, but if you prioritize CATIA V5 compatibility, we recommend “CATIA File”.
Target; If you select “File on disk”, the file will be written directly to the local PC or network drive. If you use a corporate network file environment, you may be able to set a different target.
Location / Filename; Specify the destination folder and file name. The file name may be automatically entered with the name of the object to be exported, so change it as necessary. - [General Options…]
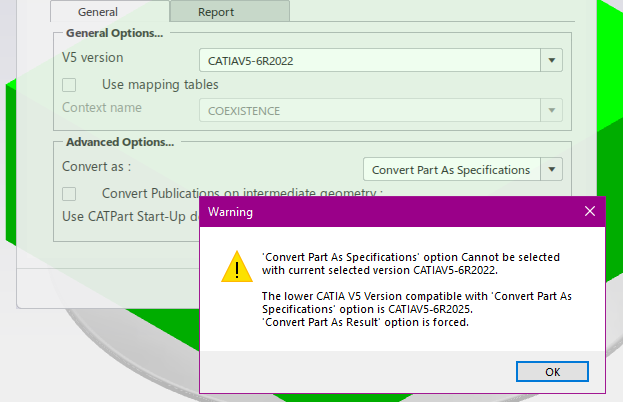
V5 version; Export will be based on the version specified here (e.g. CATIAV5-6R2022). - [Advanced Options…]
Convert as; Convert Part As Result: A format that outputs only solid shapes without including features or history. This reduces weight, but makes detailed modifications difficult later.
Convert Publications on intermediate geometry; You can select whether to inherit the publication information set in the intermediate geometry.
Use CATPart Start-Up defined in; By specifying a custom template (start-up file), you can reflect your own initial settings (materials, parameters, etc.) when exporting.
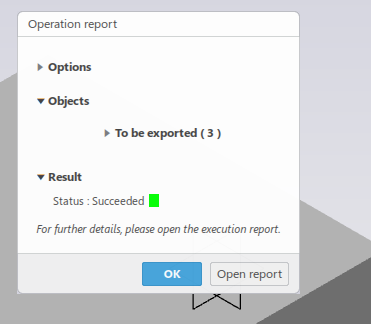
Click OK to export the CATPart file.
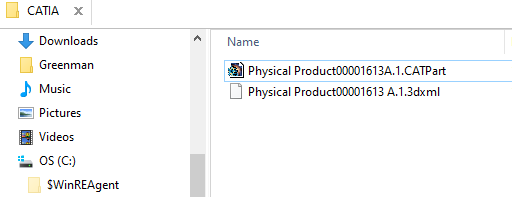
You will find the CATPart file in the folder. This file can be edited in CATIA.
4. Notes and points
You can export with the feature history (Specification tree) maintained by using Convert Part As Specifications, but this requires the CATIAV5-6R2025 version. For other versions of CATIAV5, Convert Part As Result will be forcibly selected.